Counselling Buddy lets you send PHQ-9 and GAD-7 assessments to clients via a secure, one-time link. Your client doesn’t need an account. Once the client submits the form, you’ll receive an email confirmation and the completed response will be available from your document storage, or directly on the client’s profile (if you link the form to a client).
The process, from start to finish, is: Create a form link → link is sent to client → client completes the form → you’re notified → the response is saved as a printable PDF file in your files.
Please note: Form links expire after 14 days.
Video Walkthrough
Visual learner? The below video will walk you through the steps you need to take to create a form link, send it to your client, and where you can find their response.
Inviting a client to complete a PHQ-9 form securely, and accessing their submission document
Sending a form to a client
To invite a client to complete a form, you must create a form link using the Collect a Form button, found on the client’s
profile page. You can also find the Collect a Form button on the following pages:
- Clients - in the top right of the clients list page, next to the
import clientsbutton - Files & Notes - at the top of the
Files & Notespage
All three routes open the same form collection flow.
- Find the
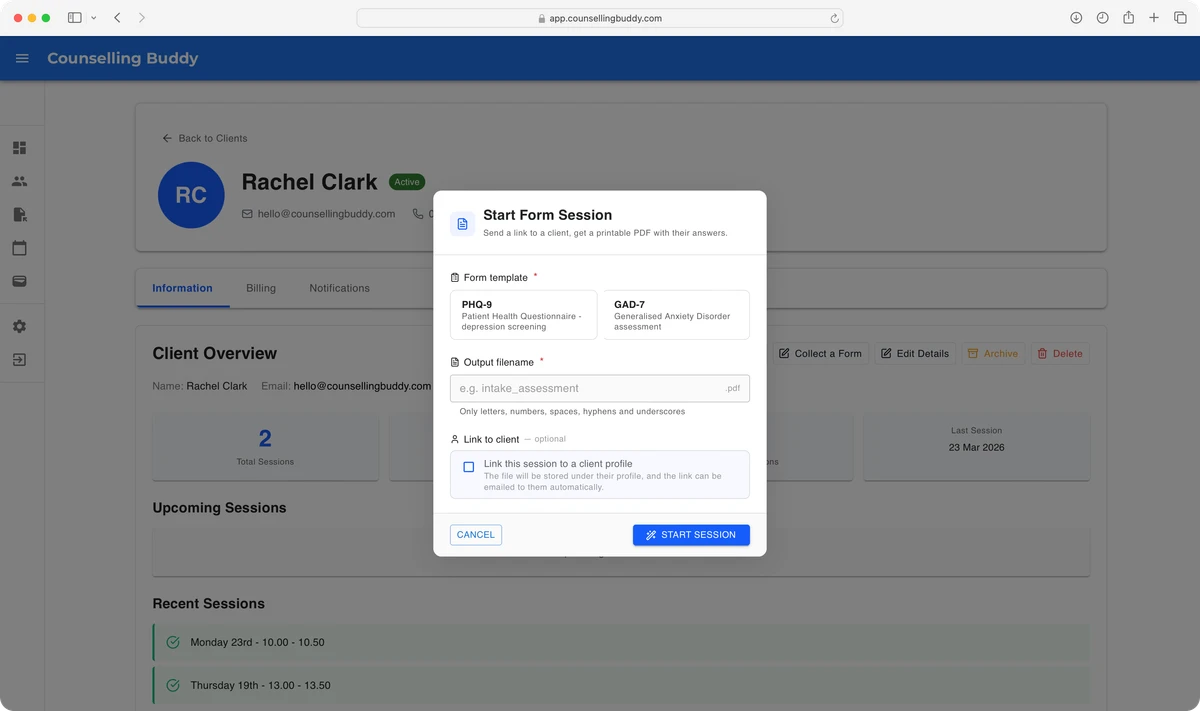
Collect a Formbutton and click it to open the “Start a Form Session” popup.
- Click the type of form you want to send - PHQ-9 (depression screening) or GAD-7 (anxiety screening)
-
If you would like the submitted form to be saved under the client’s profile, you need to tick the
Link this session to a client profilecheckbox. Either way, the file can be found from your Files & Notes page. -
Enter a file name. When the form is submitted, this will be the name used for the file that comes back.
-
If you have linked a client, you can tick the
Email session to *client name*checkbox, and Counselling Buddy will automatically send the client an email with the link attached. -
Click the
Start Sessionbutton. You will then see the link for the form and, if you have ticked theEmail session to *client name*checkbox, the client will have the link emailed to them.If you didn’t tick the
Email session to *client name*checkbox, you can copy the link (using the copy button to the right of the link) and send it to the client.
Please Note: for security reasons form links can only be used once, and expire after 14 days. If your client doesn’t complete the form within 14 days, you will need to issue a new link. If you need your client to complete the form again, you can create a new link.
What the client sees
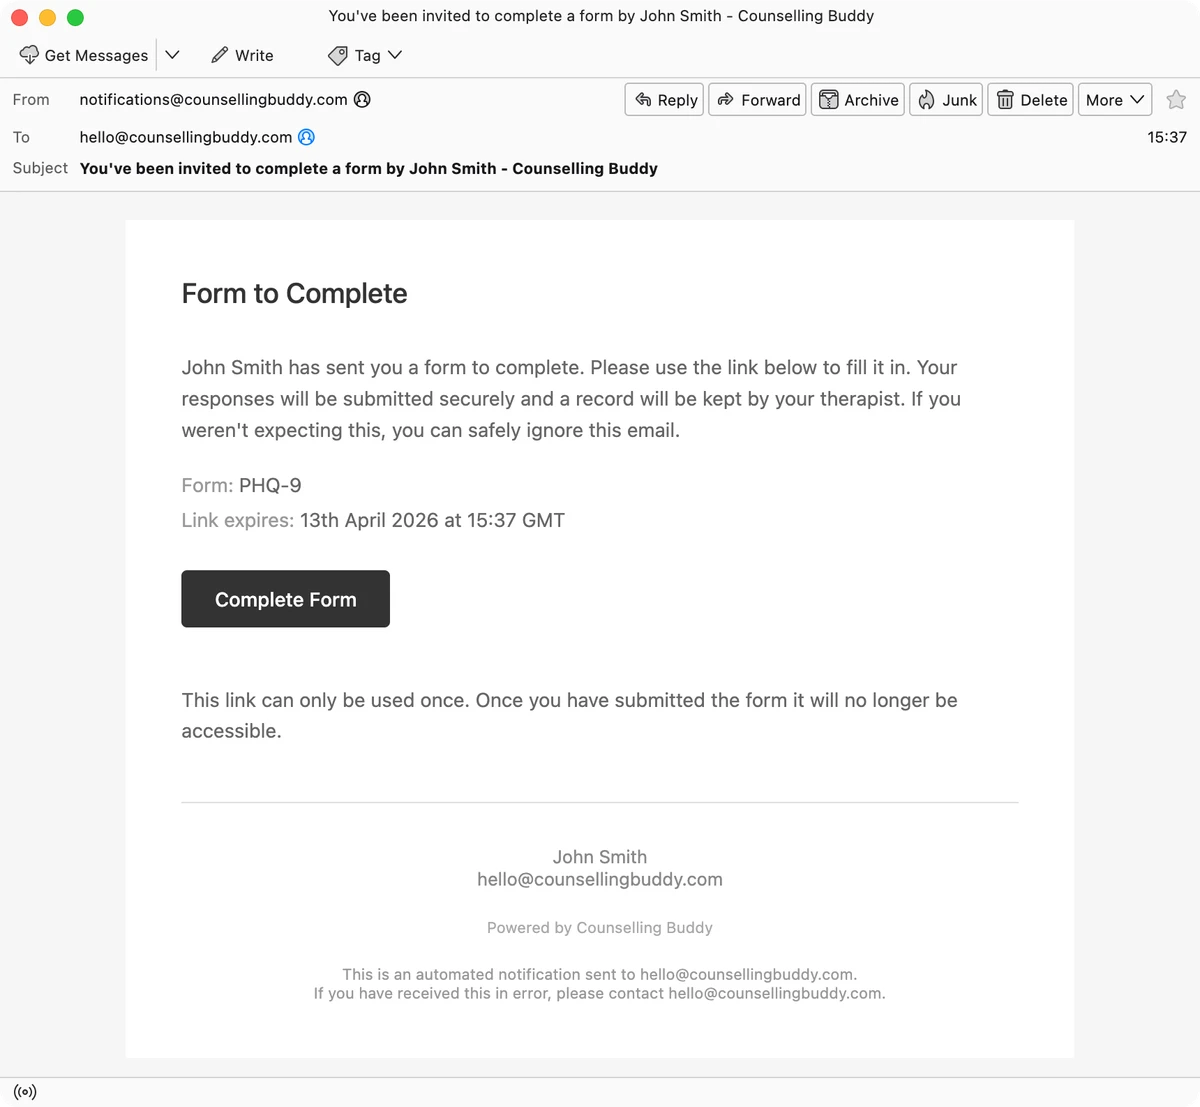
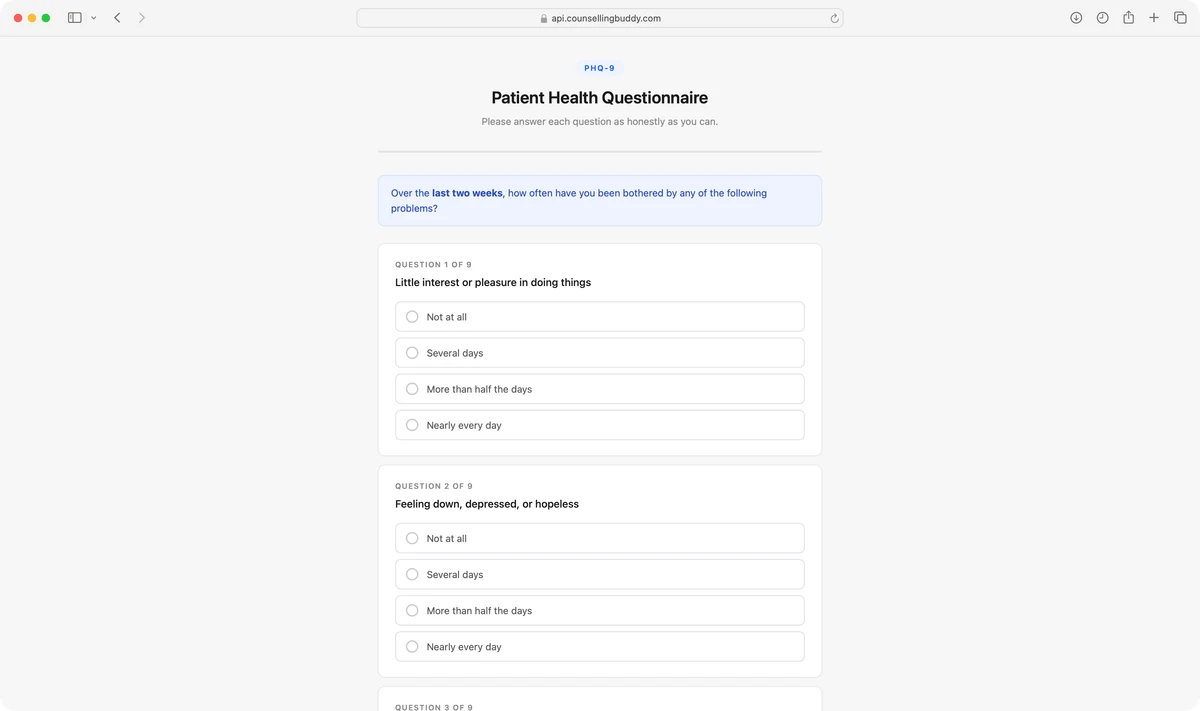

The client receives an email containing their unique, secure link. The link takes them to a page where they can complete the form - no login or account is needed. Once they submit, they’ll see a confirmation message.
Need help with anything else? Book a 20-minute demo call or browse the rest of the help centre.